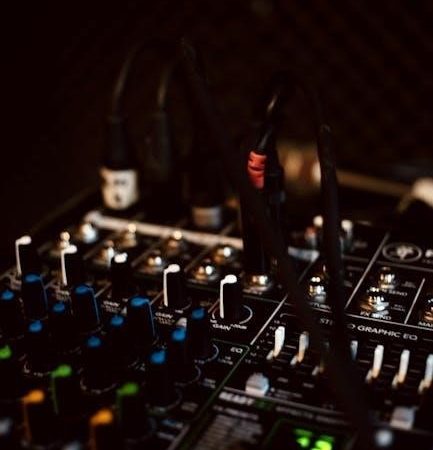
Equalization (EQ) is a powerful tool in audio production, allowing precise adjustments to specific frequencies to enhance or correct sound. Understanding EQ is essential for achieving balanced mixes.
EQ helps shape the tone, clarity, and depth of audio by boosting or cutting frequencies. It ensures each instrument occupies its rightful place in the mix, creating a polished sound.
The frequency spectrum, ranging from 20Hz to 20kHz, is divided into key areas. Mastering EQ involves identifying and adjusting these frequencies to optimize audio quality and achieve professional results.
1.1 What is EQ and Its Role in Audio Production
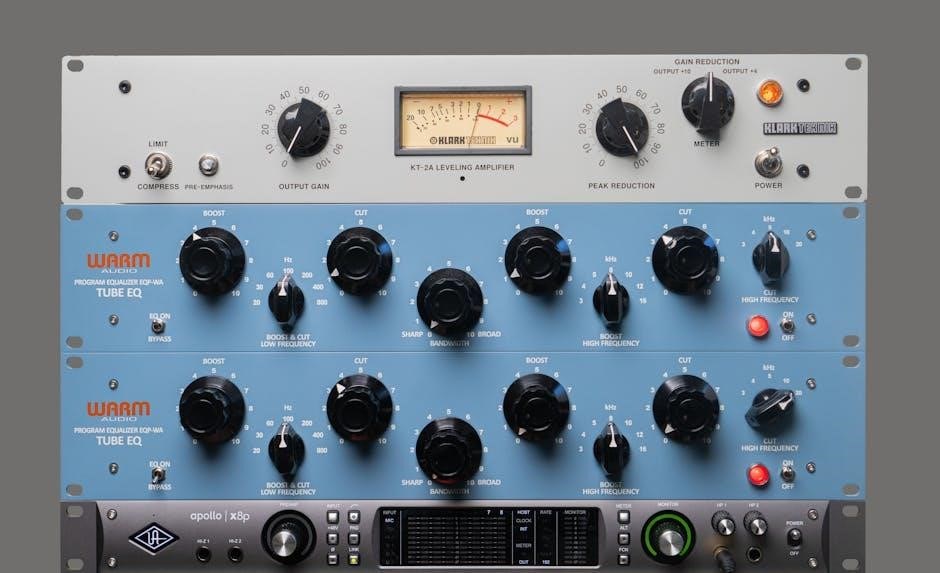
Equalization (EQ) is a fundamental audio processing tool used to boost or cut specific frequencies within a sound. It shapes the tone, clarity, and balance of audio, ensuring each element sits perfectly in the mix. By adjusting the frequency spectrum, EQ helps correct imbalances, reduce muddiness, and enhance desired characteristics, making it indispensable in both mixing and mastering. This precise control allows producers to refine sounds and achieve professional-quality audio.
EQ is essential for addressing tonal issues, such as excessive bass or harsh highs. It also helps create space in a mix by carving out conflicting frequencies between instruments. Whether it’s adding warmth to vocals or tightening the low end of a drum, EQ plays a vital role in shaping the sonic landscape of modern music production. Understanding EQ is a cornerstone skill for any audio engineer or producer aiming for polished, professional results.
1.2 Importance of Understanding Frequency Ranges
Understanding frequency ranges is crucial for effective EQing. The frequency spectrum, spanning 20Hz to 20kHz, is divided into distinct regions, each influencing the sound’s character. From the deep lows of sub-bass to the crisp highs, each range affects clarity, balance, and tonal quality. Knowing these divisions helps identify and address issues like muddiness or harshness, ensuring a well-balanced mix. This knowledge is key to making informed EQ decisions and achieving professional results in audio production.
The Frequency Spectrum Breakdown
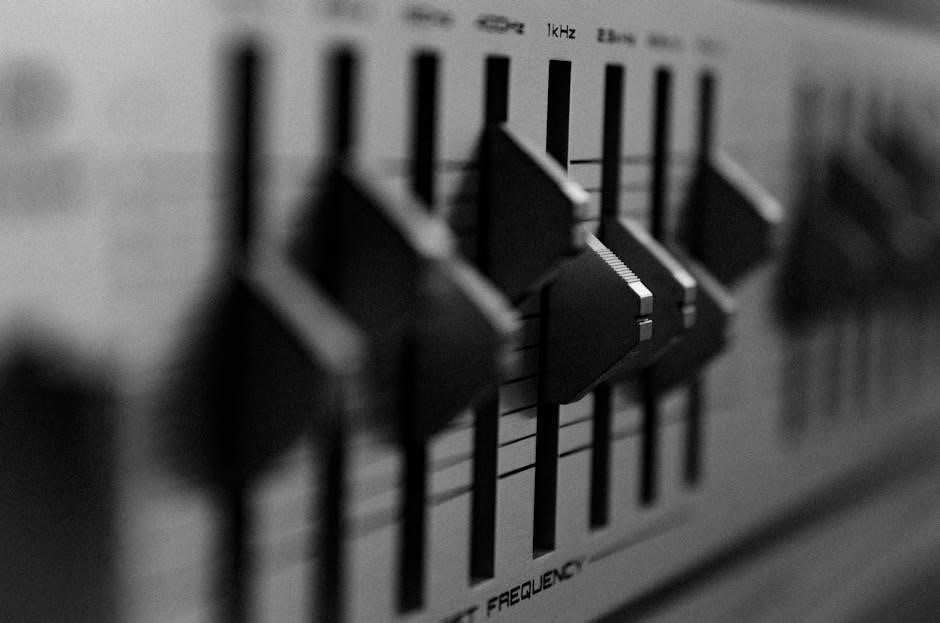
The frequency spectrum spans from 20Hz to 20kHz, divided into key ranges: sub-bass, bass, low mids, mids, high mids, and highs. Each range impacts sound clarity, balance, and tonal quality.
2.1 Sub-Bass (20Hz — 60Hz)
The sub-bass range (20Hz — 60Hz) primarily handles low-end rumble and depth. It’s crucial for kick drums and bass instruments, adding weight without muddying the mix. Too much can cause indistinct low-end, while too little results in a thin sound. Adjusting this range carefully ensures a solid foundation for your mix, balancing power and clarity effectively. Proper EQ here enhances the overall energy and drive of the track. Use it wisely to avoid overpowering other elements. This range is fundamental in genres like EDM and hip-hop, where deep basslines dominate. Always monitor on quality subwoofers to make accurate adjustments. Overboosting can lead to a boomy, uncontrolled low-end, so precision is key. Cutting frequencies in this range can help reduce unwanted rumble or hum, especially in live recordings. Remember, small boosts or cuts can significantly impact the mix’s overall feel. EQing in this range requires a careful ear to maintain balance and coherence. Keep it tight to ensure your mix translates well across all playback systems. Balancing the sub-bass is essential for a professional-sounding mix.
2.2 Bass (60Hz — 250Hz)
The bass range (60Hz — 250Hz) shapes the body and weight of low-end elements like kick drums and basslines. Frequencies around 60-120Hz add power and depth, while 120-250Hz contribute warmth and fullness. Boosting in this range can enhance the low-end’s presence, but overdoing it risks muddying the mix. Cutting frequencies above 200Hz can reduce muddiness. Proper EQ here ensures clarity and balance, preventing the low-end from overpowering other elements. This range is crucial for achieving a tight, coherent sound in any mix.
2.3 Low Mids (250Hz — 500Hz)
The low mids (250Hz ⎻ 500Hz) are crucial for balancing warmth and clarity. Frequencies around 250-300Hz add body to instruments like guitars and vocals, while 300-500Hz shape the overall midrange. Excess in this range can create muddiness, particularly in dense mixes. Cutting here helps reduce clutter, while subtle boosts can enhance presence. Properly adjusting this range ensures a balanced and clear midsection, preventing the mix from sounding overly dense or thin.
2.4 Mids (500Hz — 2kHz)
The midrange (500Hz — 2kHz) is vital for clarity and presence in audio. Frequencies here shape the detail and articulation of vocals, guitars, and keyboards. Boosting around 1kHz can enhance vocal clarity, while cuts in the lower mids (500-800Hz) may reduce boxiness. Balancing this range ensures instruments and vocals sit well in the mix, avoiding harshness or lack of definition. Proper EQ in this area is key to a polished and coherent sound.
2.5 High Mids (2kHz — 8kHz)
The high midrange (2kHz ⎻ 8kHz) is crucial for clarity, presence, and detail in audio. Frequencies here impact the articulation of vocals, guitars, and percussion. Boosting around 5kHz can enhance vocal presence, while cuts may reduce harshness. High mids also add brightness and attack to sounds like snare drums and strings. Proper adjustment in this range ensures a balanced mix with clear instrumentation and vocal definition, avoiding muddiness or excessive brightness.
2.6 Highs (8kHz — 20kHz)
The high-frequency range (8kHz — 20kHz) is crucial for clarity, detail, and the perceived “air” in audio. Cymbals, high-hats, and upper harmonics of instruments like guitars and vocals reside here. Boosting this range can enhance brightness and definition, while cutting can reduce harshness or sibilance. Gentle boosts in this range often add sparkle to mixes without sounding overly sharp, ensuring a polished and refined sound. Proper adjustment here elevates the overall clarity and precision of your audio.
EQ Frequency Chart and Cheat Sheet
An EQ frequency chart visually organizes the audio spectrum, showing where instruments and vocals typically reside. This cheat sheet provides practical EQ tips, helping producers make informed decisions.
3.1 Visual Representation of Instrument Frequencies
A visual EQ chart maps instruments across the frequency spectrum, from 20Hz to 20kHz. Colors and labels indicate where each instrument’s fundamental and harmonic frequencies lie, guiding producers in balancing mixes effectively.
3.2 How to Use the EQ Chart for Mixing
Refer to the EQ chart to identify the frequency ranges of instruments. Use it to avoid overlapping frequencies and ensure clarity in your mix. Boost or cut specific ranges to create space for each instrument, enhancing the overall balance. The chart provides a visual guide to help you make informed EQ decisions, ensuring each element sits well in the mix.

EQ Techniques for Common Instruments
Learn specific EQ techniques for instruments like kick drums, bass, vocals, guitars, and pianos. Tailor their sound by boosting or cutting frequencies to enhance clarity and balance in mixes.
4.1 Kick Drum and Bass EQ
The kick drum and bass are foundational elements in a mix. EQing these instruments involves enhancing their low-end punch and clarity. For the kick drum, focus on frequencies around 40-60Hz for the rumble and 60-145Hz for the body. Cutting frequencies below 30Hz can reduce unwanted rumble, while a subtle boost around 80-100Hz adds weight. For bass, emphasize frequencies between 60-250Hz to maintain warmth and definition, ensuring it sits well with the kick drum.
Use a narrow Q to target specific frequencies and avoid muddiness. Boosting around 200-250Hz can add warmth, while cutting between 300-500Hz reduces muddiness. For a tighter low-end, ensure the kick and bass occupy distinct frequency spaces, creating a balanced and cohesive sound. These adjustments help the kick and bass stand out while maintaining a clear mix. Proper EQing ensures they drive the track without clashing or overwhelming other elements.
4.2 Vocal EQ Tips and Tricks
Vocal EQ requires precision to enhance clarity and presence. Boost frequencies around 5kHz to brighten vocals and add definition. Cutting 250-500Hz can reduce muddiness, while a gentle boost at 1-2kHz enhances articulation. For sibilance, target 5-8kHz with a narrow Q. Use high-pass filters to remove low-end rumble below 80Hz. Experiment with subtle boosts at 3-4kHz for airiness and 150-200Hz for warmth. Automation can help maintain consistent levels and prevent frequencies from clashing in busy mixes.
4.3 Guitar and Piano Frequency Adjustments
Guitars often benefit from a boost in the 2-4kHz range for clarity and definition, while 5-8kHz can add brightness. Cutting 150-250Hz helps reduce muddiness. For pianos, enhance warmth by boosting 300-600Hz and add presence with a gentle lift at 2-5kHz. To prevent instruments from clashing, use automation to adjust frequencies dynamically. A high-pass filter above 100Hz can clean up low-end rumble in both instruments, ensuring they sit well in the mix without overpowering other elements.
Advanced EQ Techniques
Advanced EQ involves precise adjustments like boosting high frequencies for clarity or cutting mids to reduce muddiness. Surgical EQ targets problem frequencies, while automation enhances dynamic mixes. Filters can isolate sounds, and subtle boosts create space, ensuring each element shines without overlap. These techniques refine your sound, taking mixes to the next level.
5.1 Boosting vs. Cutting Frequencies
Boosting frequencies enhances specific tonal characteristics, adding brightness or warmth, while cutting reduces unwanted resonance or muddiness. Boosting high frequencies (e.g., 8-12kHz) adds clarity, while cutting low mids (250-500Hz) can remove boxiness. Subtle boosts and cuts create balance, ensuring each element in the mix shines. Always trust your ears and make gradual adjustments to achieve the desired sound without over-processing. This technique is key to refining your mix and enhancing sonic quality effectively.
5.2 Surgical EQ for Problem Frequencies
Surgical EQ involves precise adjustments to address specific problem frequencies. By using narrow Q settings, you can target and correct issues like excess muddiness (250-500Hz) or harshness (2-8kHz). This technique ensures minimal impact on surrounding frequencies, preserving the overall balance. Surgical EQ is essential for cleaning up problematic tones without altering the desired character of your audio, making it a crucial skill for professional-sounding mixes.
5.3 Using EQ to Create Space in a Mix
EQ is a powerful tool for creating space in a mix by carving out specific frequencies for each instrument. By selectively boosting or cutting, you can ensure clarity and separation. For example, cutting low mids (250-500Hz) on vocals can make room for guitars, while reducing high mids (2-8kHz) on synths can prevent clash with cymbals. This targeted approach ensures each element breathes, resulting in a balanced and cohesive mix.
Common EQ Mistakes to Avoid
Over-boosting or over-cutting frequencies can disrupt the balance of your mix. Avoid making drastic adjustments without listening in context, as this can lead to an unnatural sound.
6.1 Over-Boosting and Over-Cutting
Over-boosting or over-cutting specific frequencies can significantly alter the balance of your mix. Boosting excessively may cause harshness or muddiness, while over-cutting can result in a lifeless or thin sound. Always make subtle adjustments and use reference tracks to ensure your EQ decisions align with your desired outcome. It’s crucial to trust your ears and avoid drastic changes that disrupt the natural tone of your audio.
6.2 Ignoring the Impact of Low Frequencies
Neglecting low frequencies can lead to a mix that sounds weak or undefined. Sub-bass and bass frequencies (20Hz-250Hz) are crucial for providing depth and energy. Without proper attention, low-end frequencies can become muddy or overpowering, causing imbalance. Always monitor and adjust low frequencies carefully to ensure clarity and cohesion in your mix, preventing an overly boomy or thin sound that lacks presence.
EQ for Different Music Genres
Equalization techniques vary across music genres, with specific frequency adjustments tailored to enhance genre-specific elements. For example, EDM emphasizes sub-bass and high-end clarity, while rock prioritizes mid-range for guitars and vocals.
7.1 EQing for Electronic Dance Music (EDM)
In EDM, EQing focuses on enhancing the energy and clarity of synthesized sounds and drums. Sub-bass frequencies (20-60Hz) are often boosted to create deep, immersive lows, while high-end frequencies (8-12kHz) are accentuated for sparkling synths and cymbals. Snares and percussion are typically brightened with a boost around 5kHz for crisp attack.
The low mids (250-500Hz) are often cut to avoid muddiness, ensuring a clean mix. Vocals are usually EQed for presence, with a boost in the 1-2kHz range. This approach ensures each element stands out, creating a balanced and impactful sound tailored to the genre’s demands.

7.2 EQing for Rock and Pop Music
Rock and pop EQing emphasizes clarity and energy, particularly in guitars and vocals. High frequencies (5-8kHz) are often boosted to add bite to electric guitars, while vocals are enhanced with a presence boost around 1-2kHz. The mid-range (500Hz-2kHz) is adjusted to maintain balance and avoid muddiness.
Snares and drums are typically brightened with a boost around 5kHz for crisp attack. Low-end frequencies (60-250Hz) are carefully managed to provide punch without overwhelming the mix. This approach ensures a dynamic and engaging sound, tailored to the energetic nature of rock and pop music.
Mastering EQ requires practice and a deep understanding of the frequency spectrum. Always trust your ears and experiment to achieve the desired sound. Keep refining your skills for professional results.
8.1 Summary of Key EQ Principles
Equalization is fundamental for balancing audio, enhancing clarity, and shaping tone. Key principles include understanding frequency ranges, boosting or cutting strategically, and using EQ charts as guides. Always listen to your mix and make precise adjustments. Avoid over-processing and focus on creating space for each instrument. Practice and experimentation are crucial for mastering EQ techniques and achieving professional-sounding mixes consistently.
8.2 Encouragement to Practice and Experiment
Mastering EQ requires consistent practice and a willingness to experiment. Start by identifying problem frequencies and making small adjustments. Trust your ears and remember, EQ is a creative tool. Don’t be afraid to try unconventional approaches to achieve unique sounds. Regular practice will refine your skills and intuition, helping you make confident decisions. Keep exploring and pushing boundaries to unlock the full potential of your mixes!