
Safety Guidelines for Ryobi Line Trimmer
- Always wear protective gear, including gloves, safety glasses, and long pants, when operating the trimmer.
- Ensure the area is clear of debris and bystanders before starting the trimmer.
- Avoid operating the trimmer in wet conditions or near open flames;
- Keep children and pets away while the trimmer is in use.
- Disconnect the battery or spark plug before performing maintenance or repairs.
- Never touch the cutting line while the trimmer is running.
- Follow all manufacturer guidelines for proper operation and safety.
1.1 Pre-Operation Safety Checks
Before using the Ryobi line trimmer, conduct a thorough pre-operation safety check. Inspect the trimmer head for damage or wear, ensuring all parts are securely attached. Check the cutting line for proper length and condition, replacing it if necessary. Verify the battery is fully charged and properly connected for cordless models. Ensure the trimmer is assembled according to the manual instructions. Always follow manufacturer guidelines to ensure safe and reliable operation.
1.2 Safe Handling and Operating Practices
- Maintain full control of the trimmer, ensuring a firm grip and proper posture during operation.
- Avoid overreaching or stretching, which could cause loss of balance or control.
- Keep the trimmer away from your eyes and face to prevent injury from debris.
- Do not operate the trimmer in wet conditions or near open flames to avoid hazards.
- Always follow the manufacturer’s guidelines for safe and effective trimming practices.

Assembly and Parts Identification
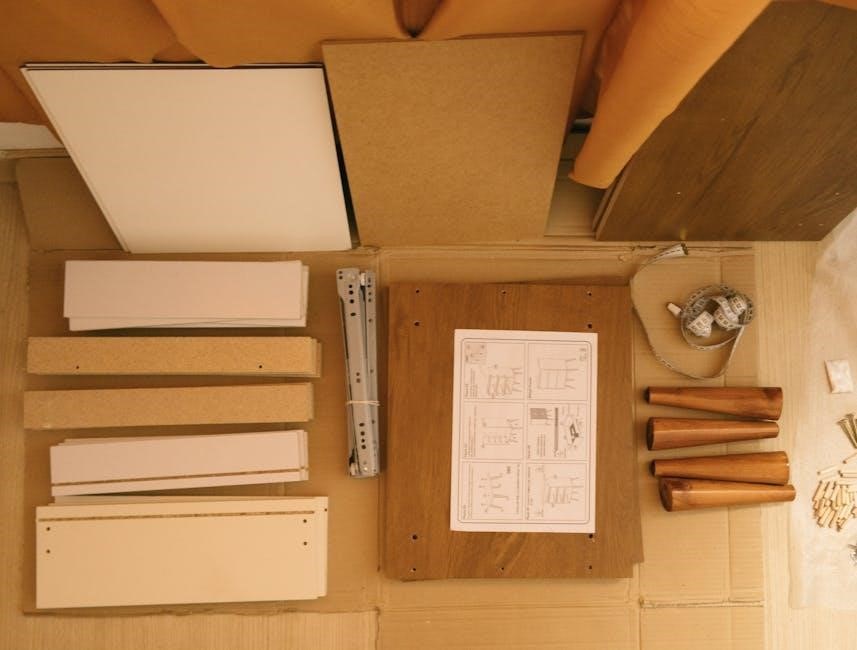
Begin by unpacking and inventorying all components, ensuring no parts are missing or damaged. Refer to the manual for a detailed parts diagram and assembly instructions.
2.1 Unpacking and Inventory of Components
Carefully unpack the Ryobi line trimmer and ensure all components are included. Typically, the box contains the trimmer shaft, cutting head, battery, charger, and user manual. Inspect each part for damage. Compare the items with the parts list in the manual to confirm completeness. If any components are missing or damaged, contact Ryobi customer support immediately. Proper inventory ensures smooth assembly and operation.
2.2 Attaching the Trimmer Shaft and Head
To attach the trimmer shaft and head, align the arrows on both parts. Securely twist the head clockwise until it clicks. Tighten the retaining screw firmly without over-tightening. Ensure the connection is stable by gently tugging on the head. Proper assembly ensures safe and effective operation. If unsure, consult the manual for detailed instructions or contact Ryobi support for assistance.

Operating the Ryobi Line Trimmer
Start the trimmer with a slow, steady pull of the trigger. Maintain a slight angle to the ground for efficient cutting. Avoid over-revving the engine.
3.1 Starting the Trimmer for the First Time
Before starting, ensure the trimmer is fully assembled and the battery is charged. Read the manual to understand operation. Press the safety lock, then pull the trigger gently. For gas models, prime the engine and pull the starter cord firmly. Always start on a flat surface with the trimmer head clear of obstructions. Allow the engine to warm up before use.
3.2 Trimming Techniques and Best Practices
Hold the trimmer at a slight angle, keeping the cutting line parallel to the ground. Swing the trimmer in a steady, controlled motion to maintain even cutting. Avoid over-trimming in one spot, as this can damage plants. Use the edge feature for clean borders and switch to the dual-line mode for thicker vegetation. Always keep the trimmer head at a consistent height and clear debris as you work for optimal performance.
Maintenance and Troubleshooting
Regularly clean the trimmer head and check for worn or damaged lines. Lubricate moving parts and store the trimmer in a dry, cool place. Address issues like line feed problems or uneven cutting by referring to the troubleshooting guide in the manual.
4.1 Cleaning and Regular Maintenance
Regular maintenance ensures optimal performance of your Ryobi line trimmer. Clean the trimmer head and guard after each use to remove debris. Inspect and replace worn or damaged cutting lines. Lubricate the trimmer’s moving parts periodically to prevent rust and friction. Store the trimmer in a dry, cool place to avoid corrosion. Refer to the manual for specific cleaning instructions and maintenance schedules.
4.2 Common Issues and DIY Fixes
Common issues with Ryobi line trimmers include the trimmer not starting, uneven cutting, or the line not feeding properly. For a trimmer that won’t start, check the battery charge or spark plug. Uneven cutting may result from a dull or incorrectly installed cutting line. To fix the line feed, clean the spool and ensure proper alignment. Refer to the manual for troubleshooting guides and DIY solutions to resolve these issues effectively.

Line Replacement and Adjustment
- Turn off the trimmer and ensure the battery is disconnected before replacing the line.
- Remove the spool and cut the new line to the recommended length specified in the manual.
- Wind the line evenly around the spool, ensuring it’s properly secured to avoid tangles.
- Reattach the spool and test the trimmer to ensure the line feeds correctly during operation.
5.1 How to Replace the Trimmer Line
To replace the trimmer line, start by turning off the trimmer and disconnecting the battery; Press the spool retainer button and remove the spool. Cut 10 feet of new line and wind it evenly around the spool, leaving 6 inches unwound. Secure the end with the retainer. Reattach the spool and test the trimmer to ensure proper line feeding. Avoid overfilling the spool, and use the recommended line diameter for optimal performance.
5.2 Adjusting the Line Feed Mechanism
The Ryobi trimmer features an auto-feed line head that dispenses line automatically. For manual adjustment, turn off the trimmer and remove the spool. Press the spool retainer button and pull the line to release any tangles. Wind the line neatly around the spool, leaving 6 inches unwound. Secure the end under the retainer and reattach the spool. Test the trimmer to ensure proper line feeding. Adjust as needed for consistent performance.

Model-Specific Features
Ryobi offers various trimmer models, such as the RY401150US with Expand-It capability and the 40V Brushless model featuring an auto-feed line head for efficient trimming.
6.1 Overview of Popular Ryobi Trimmer Models
Ryobi offers a range of trimmer models, including the RY401150US with Expand-It capability and the 40V Brushless model featuring an auto-feed line head. The RPT2543C and RY7011 are popular for their reliability, while the RLT5030 and RLT5027 are known for their lightweight designs. These models cater to diverse needs, from small yards to heavy-duty tasks, ensuring efficient and precise trimming experiences.
6.2 Unique Features of the 40V Brushless Model
The 40V Brushless Ryobi Trimmer stands out with its auto-feed line head, dispensing 1/4 inch of line per trigger release. It features a brushless motor for increased efficiency and durability. The model includes an adjustable cutting width and compatibility with the Expand-It system, allowing for versatile attachments. Its lightweight design enhances maneuverability, making it ideal for extended use without fatigue.

Accessories and Attachments
A variety of accessories, such as the Expand-It attachment system, cultivators, and sweeper attachments, are available for enhanced functionality. The adjustable handle ensures ergonomic use, and compatibility with Ryobi’s 40V battery platform adds convenience.
7.1 Compatible Accessories for Ryobi Trimmers
Ryobi trimmers support various attachments like the Expand-It system, allowing conversion into cultivators, edgers, or blowers. Additional accessories include replacement trimming lines, spools, and adjustable handles. The 40V battery platform is compatible with multiple tools, enhancing versatility. These accessories are designed to boost efficiency and adaptability, making the trimmer a multi-functional yard care solution. Always ensure compatibility with your specific model for optimal performance. Proper installation and usage are key to safety and effectiveness.
7.2 Using the Expand-It Attachment System
The Expand-It system allows easy conversion of your Ryobi trimmer into a versatile yard care tool. Attachments like edgers, blowers, or cultivators can be securely fitted. To use, align the accessory with the trimmer’s coupling system, ensuring a snug fit. Tighten firmly and test stability before operation. This feature enhances functionality, enabling multiple tasks with a single base unit. Always follow the manual for specific attachment instructions and safety precautions.
Environmental and Usage Tips
Adopt eco-friendly practices by using the correct line diameter and avoiding unnecessary trimming. Properly store the trimmer in a dry place and dispose of batteries responsibly; Always recycle old trimmer parts and follow local environmental guidelines for waste disposal. Regular maintenance ensures efficiency and reduces environmental impact. Store fuel for gas models separately and securely.
8.1 Eco-Friendly Trimming Practices
Adopt eco-friendly trimming practices by using the correct line diameter to minimize waste and reduce emissions. Opt for energy-efficient models like the Ryobi 40V Brushless Trimmer, which offers lower noise and energy consumption. Avoid over-trimming to preserve plant life and biodiversity. Regularly maintain your trimmer to ensure optimal performance and reduce fuel or battery usage. Properly dispose of trimmer waste, such as old nylon lines and batteries, through recycling programs. Choose rechargeable batteries to minimize environmental impact and reduce landfill waste. Additionally, consider using the Expand-It attachment system for versatile yard care with minimal resource consumption. Always follow local environmental guidelines for sustainable yard maintenance.
8.2 Proper Storage and Disposal Guidelines
Store your Ryobi line trimmer in a dry, cool place, away from direct sunlight and moisture. Clean the trimmer thoroughly before storage to prevent damage. For gas models, drain the fuel tank, and for electric models, remove the battery. Recycle old batteries and nylon lines responsibly. Dispose of waste according to local regulations. Consider donating or repurposing unused parts. Always follow environmental guidelines for safe disposal and recycling to minimize ecological impact.
For optimal performance and longevity, follow the guidelines outlined in this manual. Visit the official Ryobi website or contact Ryobi support for additional resources, troubleshooting, or warranty information.
9.1 Final Tips for Optimal Performance
Regularly clean the trimmer head and ensure proper line tension for consistent cutting performance. Maintain the cutting line at the recommended length and replace worn or damaged lines promptly. For cordless models, keep the battery charged and avoid extreme temperature storage. Always store the trimmer in a dry, secure location. By following these tips, you’ll extend the life of your Ryobi line trimmer and maintain its efficiency for years to come.
9.2 Where to Find Additional Manuals and Support
For additional manuals and support, visit the official Ryobi website or authorized retailers like Home Depot. Sears Parts Direct offers detailed parts diagrams and repair guides. You can also contact Ryobi’s customer support hotline for assistance. Online forums and communities provide troubleshooting tips and user experiences. Ensure to reference model-specific guides for accurate information and maintenance advice.